


Gerrymandering MA, NC, FL, NY…
Posted by Jamie Bartels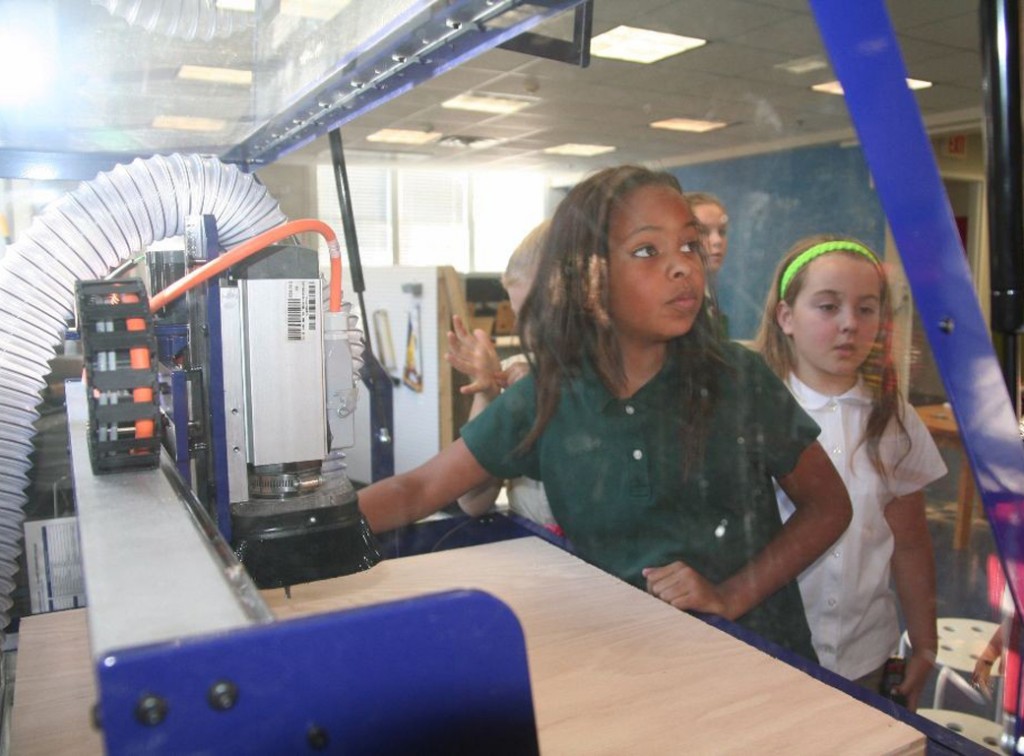

When fourth graders come down to the makerspace to cut out new state lines, it isn’t for politics — they’re here to measure their pieces of plywood and program the CNC router to carve a chosen state for social studies.
The first step was to learn the complex but necessary differences between a bitmap and a vector — vectors are easily scaled and easily convertible into clear instructions for the CNC router, but most of the images of the student’s states were in bitmap format—.jpg, .png, etc.
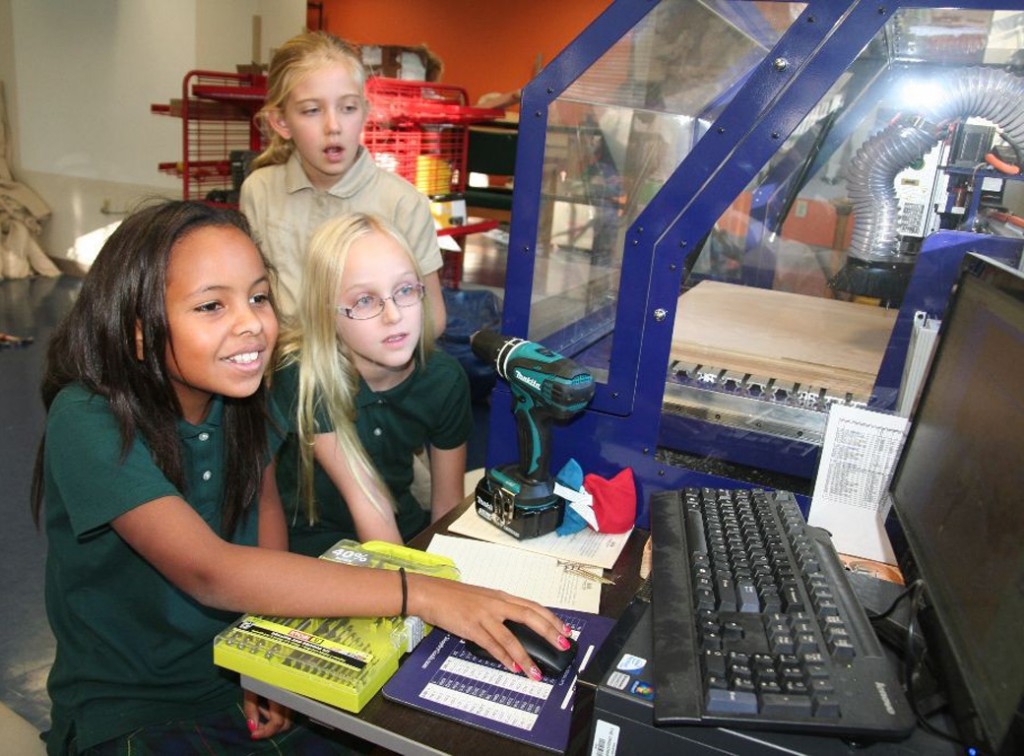
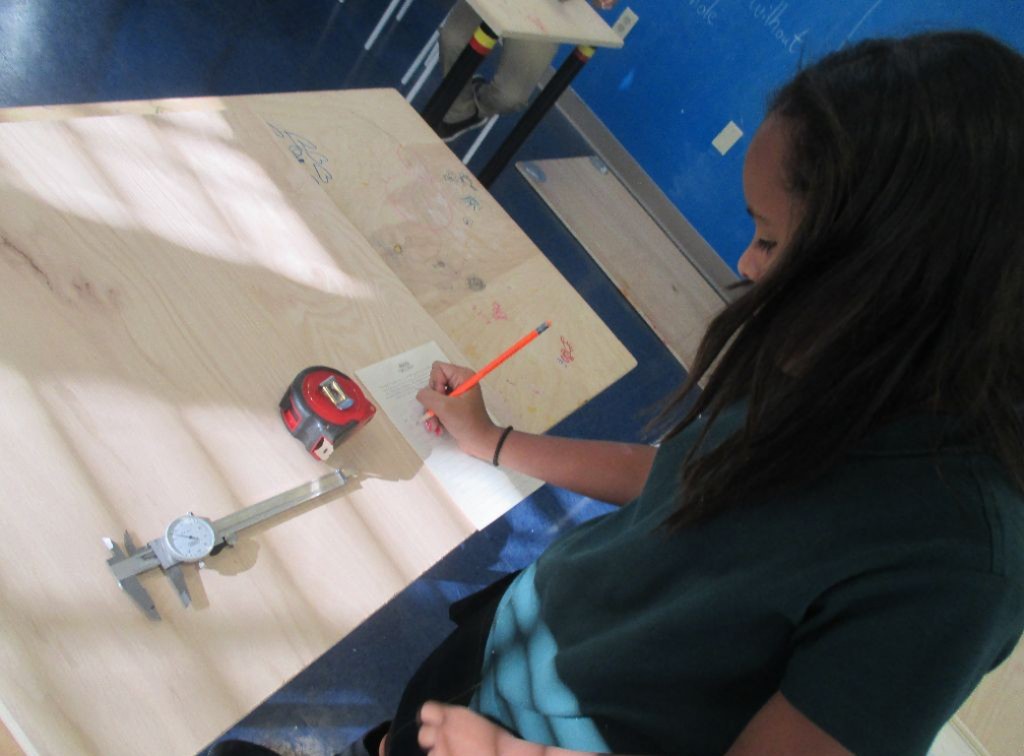
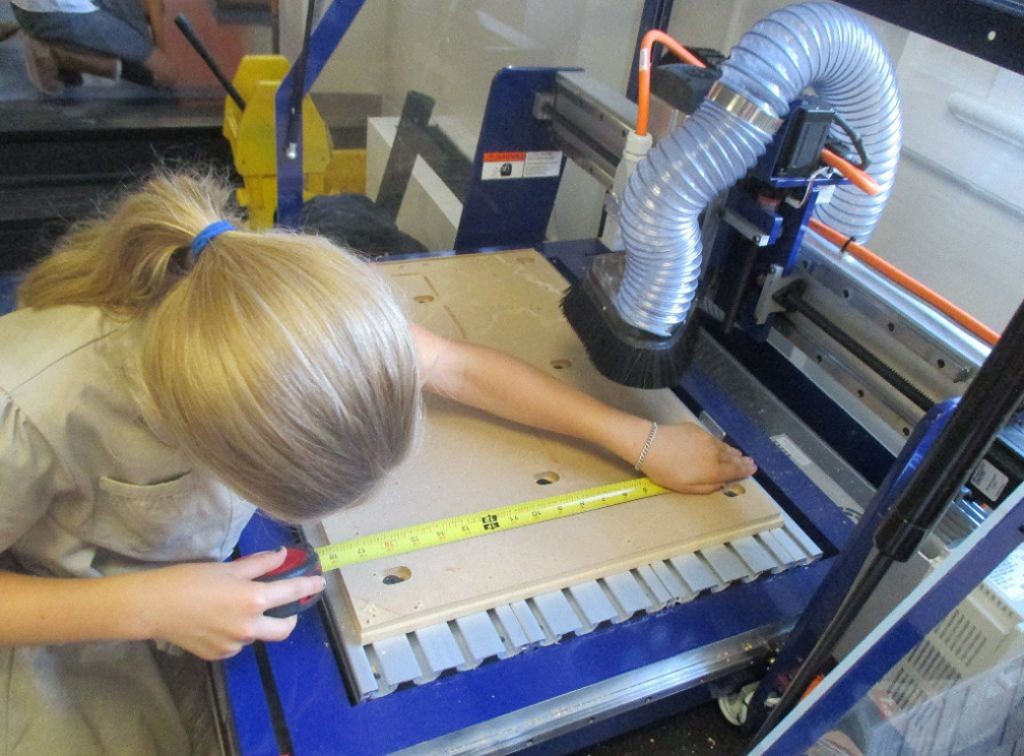
The second step – ongoing as the students come down in small groups during social studies and flex time – is to measure the dimensions of their piece of plywood. The most important dimension, as students have learned, is the thickness of the material, which they measure using a caliper. When using the CNC router, the cut depth must be set about .002 deeper than the thickness of the material to ensure a clean cut all the way through: accuracy and precision matter! Students record their measurements on a sheet of paper they will use in the next step.
The third step – also ongoing – is learning how to use the CNC router software, VCarve Pro. Students create a new document and fill in the data relating to their material — the length, width and thickness — after which they import their bitmap. Next they use the “trace bitmap” tool to create a vector based on their bitmap image. Then they use the “resize vector” tool to scale the vector of their state to the size of their piece of plywood. Finally, students use the “pocket toolpath” to create instructions for a pocket cut around the outline of the vector image of their state – phew! After tweaking a few important variables — the aforementioned cut depth, the number of passes — students are ready to add tabs, which keep the piece of wood being cut connected to the work area, ramps, which allow for a more gradual cut down into the wood, putting less stress on the material and the cutting bit, and to save their toolpath!
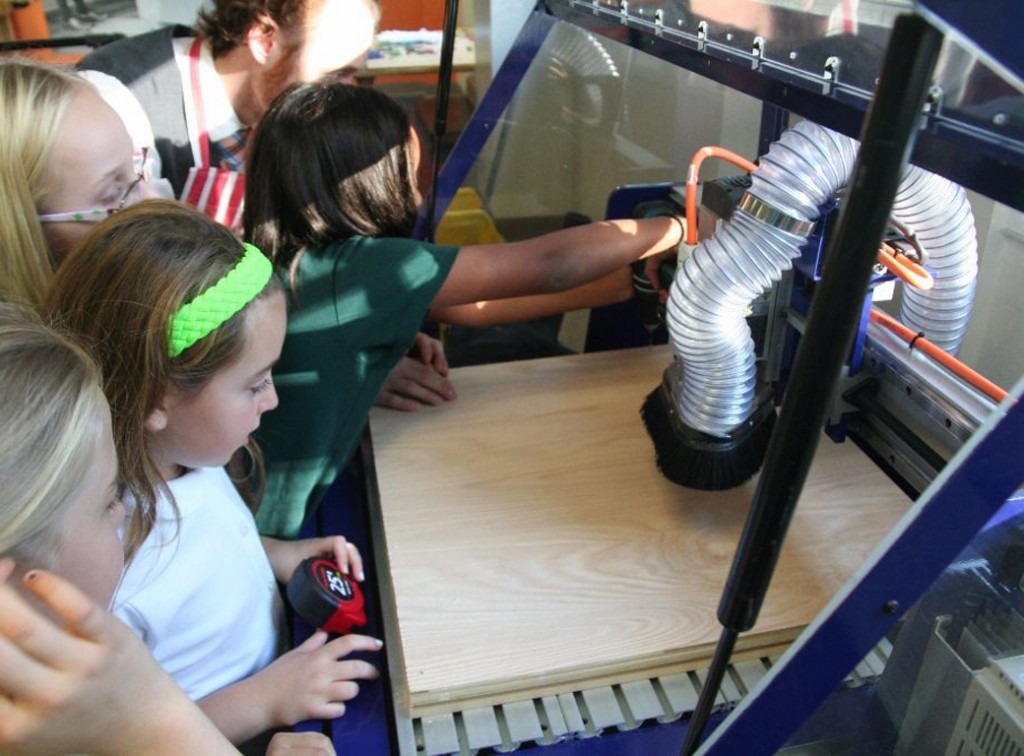
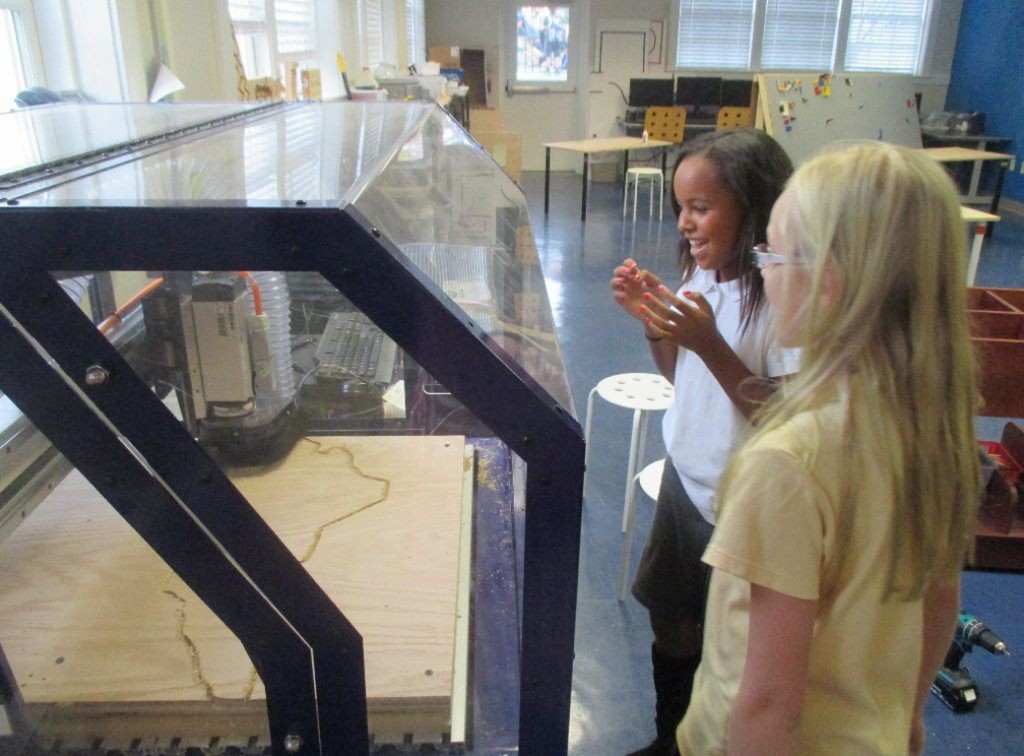
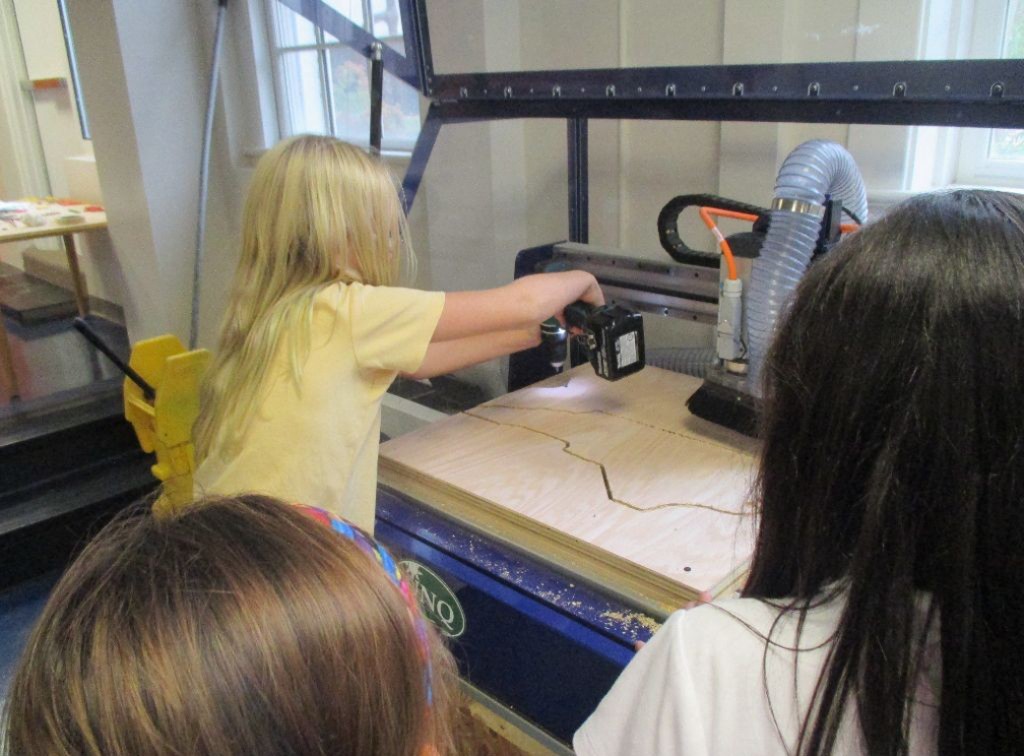
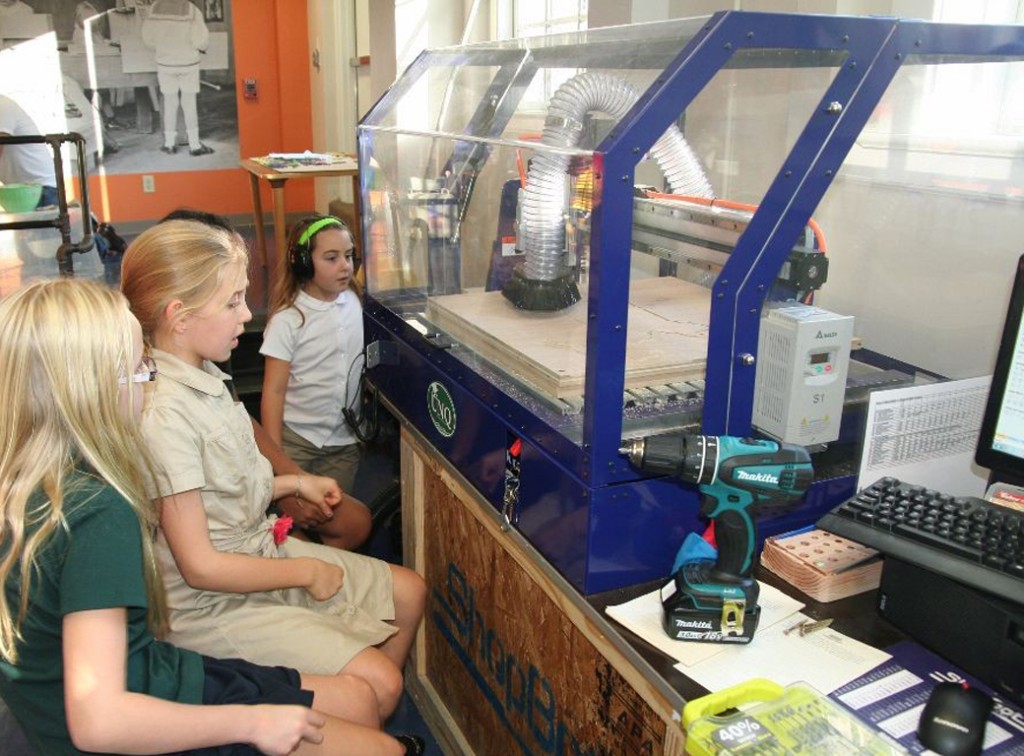
Now students arrive at the really fun part: drilling their plywood onto the work area, opening their toolpath, confirming the type of bit in the CNC router spindle, and turning on the spindle. At the end they get to sit back and watch the machine turn their design and measurements into a precisely milled image of their state!
← Nailed it... Different Ways to Communicate with a Different Language →